Email server set and ready to work but I forgot to make it work for me 🙂
Yes, I forgot to add user for testing this email server. In this post I’ll continue with step by step guide add new user on existing email server (Axigen email server) :
Make sure the service run
Login to webadmin using address provided in previous post.
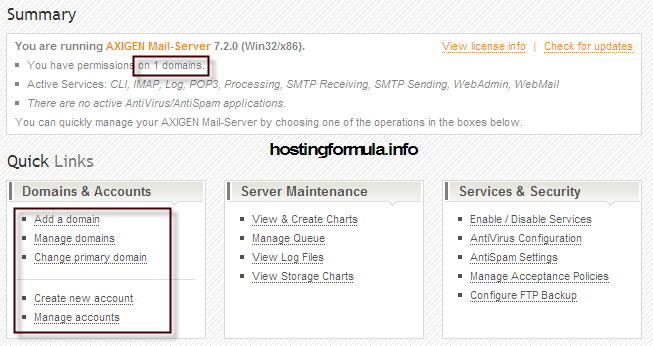
Pay attention to Summary page. Important information are :
- You have permission on 1 domains ( yes I’ve add winhows.net as domain)
- Active service; CLI,IMAP, Log, POP3, Processing, SMTP receiving, SMTP sending, webadmin and webmail.
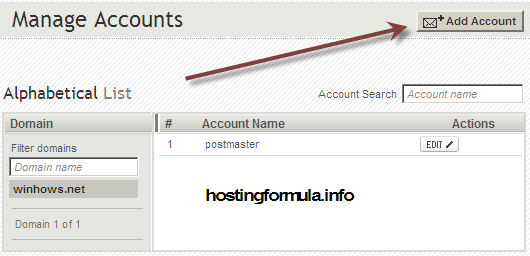
Add new mailbox
Click Create new account -> Add Account
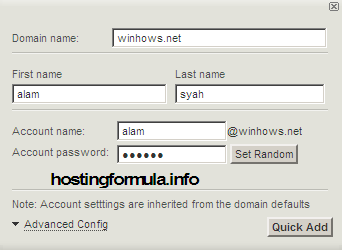
Domain will automatically filled with winhows.net.
Fill first name, last name, username and password.
Hit button ‘Quick Add‘ when you’re done.
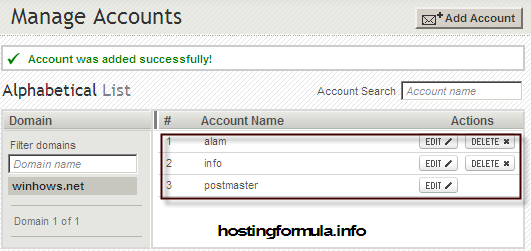
I add two account : alam and info.
Testing send email
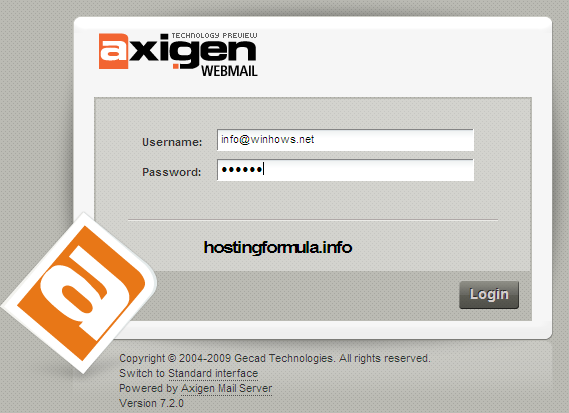
Login to webmail ( my address change to http://192.168.12.104:8081)
Enter name@domain in username field and password I type before.
Click Login button.
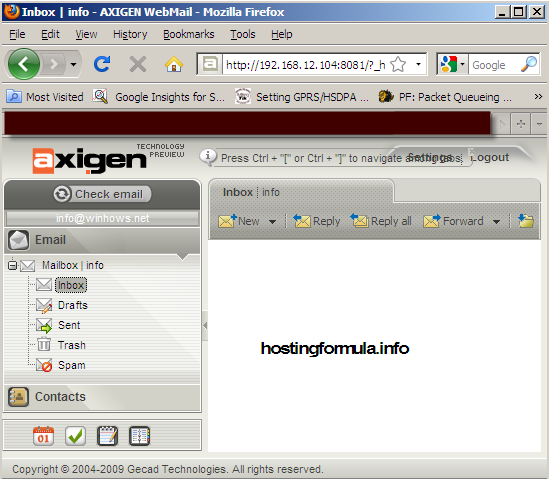
User info@winhows.net successfully login.
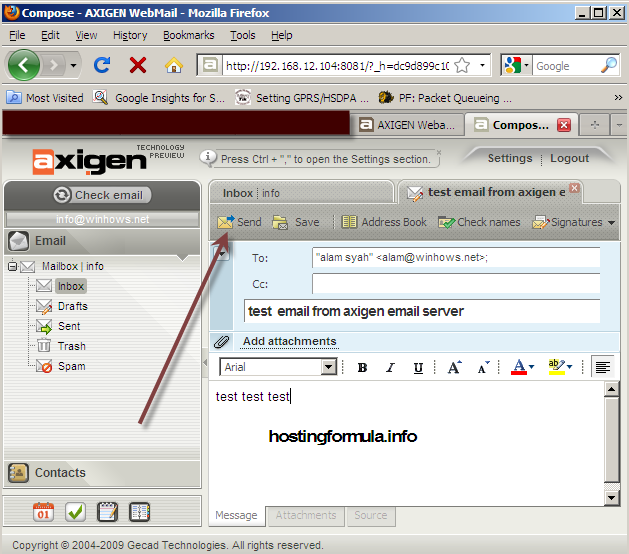
Click New message button to start compose email.
Click Send button to send the email.
Login to other mailbox (alam@winhows.net) and check message sent by user info@winhows.net.
Great, the system really works. You’re ready to continue as you have complete development tools for home environment.
Totally offline.
Yahoo!!!
View Comments (0)