I’ve ever use pmachine long time ago and I like it very much. Today pmachine replaced by expression engine as they offer more dynamic feature but still in simple user GUI for end user.
This time I’ll show how to install expression engine in localhost with help of Wampserver.
Fake Domain I’ll use is : dariawal.com
Friendly URL for search engine needed too.
Enough, I’ll continue the tutorial in the form by step by step :
Domain Setup
For domain setup I use the same way as I set fake domain for cms based wordpress and cms based drupal.
Open HostExpert and add new domain.
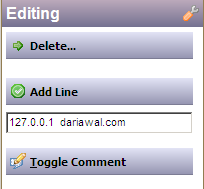
Click “Add Line” and you’re done.
Setting VirtualHost
Open file C:\wamp\bin\apache\Apache2.2.11\conf\extra\httpd-vhosts.conf
and add these lines :
<VirtualHost *:80>
ServerAdmin alam@batikweb.com
DocumentRoot “C:/wamp/www/EECore1.6.8”
ServerName dariawal.com<Directory “C:/wamp/www/EECore1.6.8/”>
Options Indexes FollowSymLinks MultiViews
AllowOverride all
Order Deny,Allow
Deny from all
Allow from 127.0.0.1
</Directory></VirtualHost>
Save file.
(EECore1.6.8 is folder name of expression after extracted).
Create new database
To add new database, open phpmyadmin and create new database “ee”.
(Make sure you already start Wampserver.)
Download Expression Engine
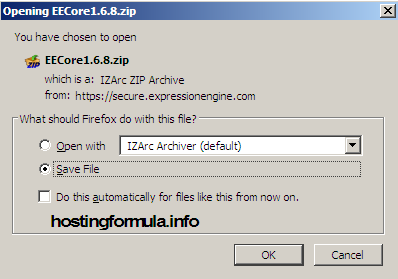
Get latest version of expression engine from here.
At the time of writing this tutorial I get version 1.6.8
Save the file to your preferred folder.
Extract the file to C:\wamp\www
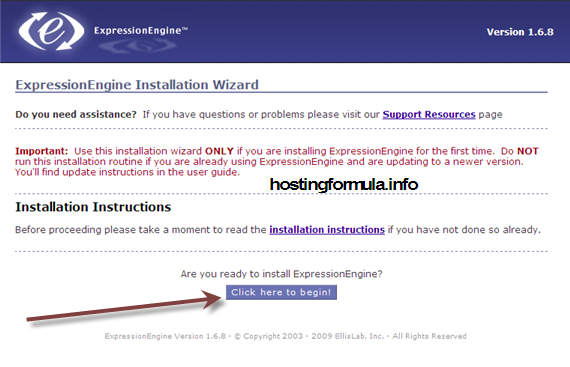
Start Install Expression Engine
Open your browser and open address : http://dariawal.com
Click button “click here to begin!”
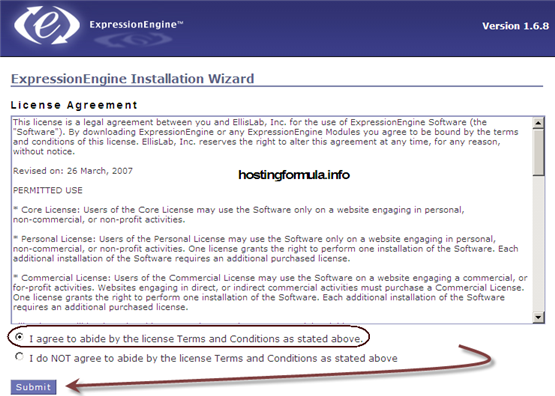
Choose “A agree to abide by the license Terms and Conditions as stated above”
Click “Submit” button.
At this step you have option to change the “system” folder to other name. When you did that make sure to enter that name to input box provided and click Submit.
Setting Wizard
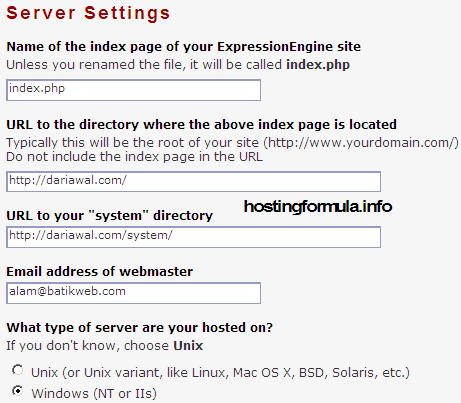
Server Settings
By default all entry provided by wizard taken from previous step are correct. If you feel it’s not feel free to change.
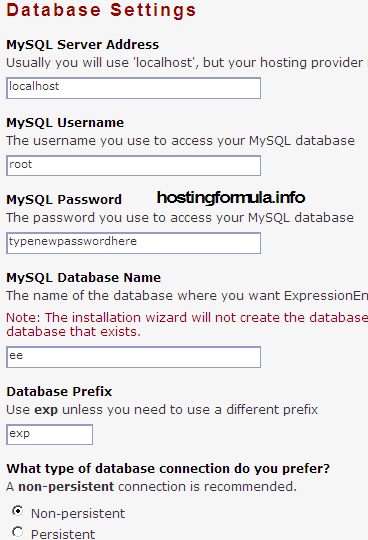
Database Settings
Enter information related to database, in create new database section I’ve made “ee” database. Let the rest of option to default value.
Encryption Settings
Let default value pointed to SHA1 as suggested by install wizard.
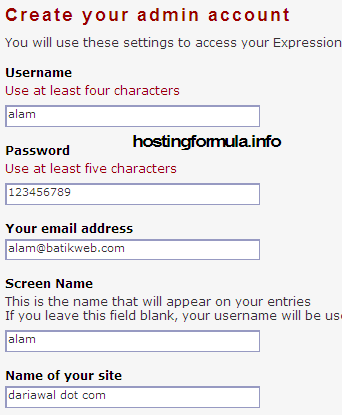
Create your admin account
In this section enter your info, I use alam@batikweb.com (email address I’ve made that work in localhost powered by axigen mail server)
For localizations choose your timezone and let default as theme.
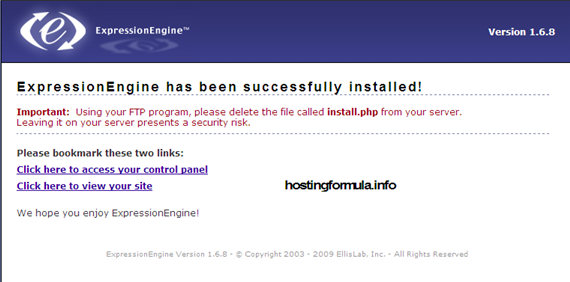
Click button “Click Here to Install ExpressionEngine”
as all information entered correctly I get this on my browser.
Great, expressionengine successfully installed.
See you in next post, stay health!
View Comments (0)